Measuring & Installing
Self-Adhesive Paper
Before applying the products to the wall, please make sure you understand the information in our installation guide. We are happy to help you if there is something you do not understand, please contact us!
Non-Recommended Surface
Use self-adhesive wallpaper on flat walls to which the glue will easily stick and bind well. Below please find a list of surfaces that are not recommend for installation as the wallpaper may not stick to them or damage the surface when peeling off:
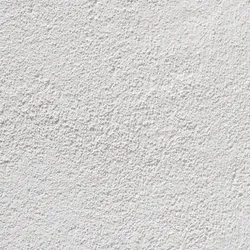
Textured Walls — All kinds of convex unevenness will be visible after gluing the wallpaper, air will accumulate in concave gaps and the glue will not bind in these places.
Wallpaper — Sticking self-adhesive wallpaper on paper is not recommended, when you try to peel off to correct, you must completely tear off the old layer of wallpaper.
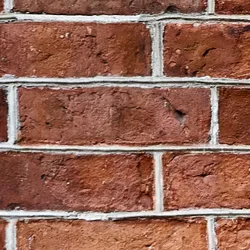
Brick / Cinderblock — Rough surfaces to which the wallpaper will not hold.
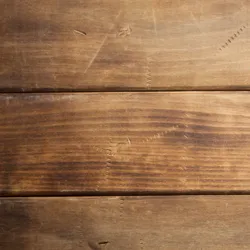
Wooden walls — Similarly as on brick, the wallpaper can peel off after some time.
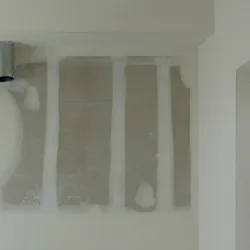
Unpainted Drywall / Sheetrock or Plaster — Paper may possibly tear off when peeling off Non-stick Paint e.g..
Latex paint — Some latex paints, depending on their composition, may cause the wallpaper to peel off. It is recommended that you check such a wall using the sample attached to each wallpaper.
Wall behind old plaster/ paint — When peeling off, it is possible that the paint will strip off with part of the plaster.
Wall covered with mold — A wall which is covered with mold is usually moist, so the adhesive cannot bind well and will peel off.
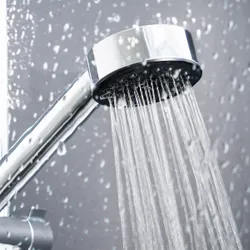
Bathroom — Installing any wallpaper in the bathroom is not easy due to steam. To check if YOU can hang a self-adhesive wallpaper in your bathroom, order a sample and glue it on the desired wall at height above 7 ft. If, after 7-14 days, it does not start to peel off, your wallpaper should also stick. It is not recommended in areas that are directly in contact with water.
Kitchen — If you want to hang the wallpaper over the kitchen counter near the sink, etc. it is necessary.
Preparing the Wall
Before you install your wallpaper, prepare the wall in a way similar as before applying a normal wallpaper or before painting:
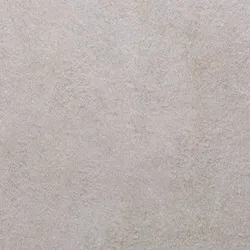
If there is any kind of unevenness, smooth it out by applying a coat and dry so it is even. Similarly, to old plaster or paint, it should be cleaned and smoothed beforehand.
It should not be painted at least up to 21 days before hanging the wallpaper.
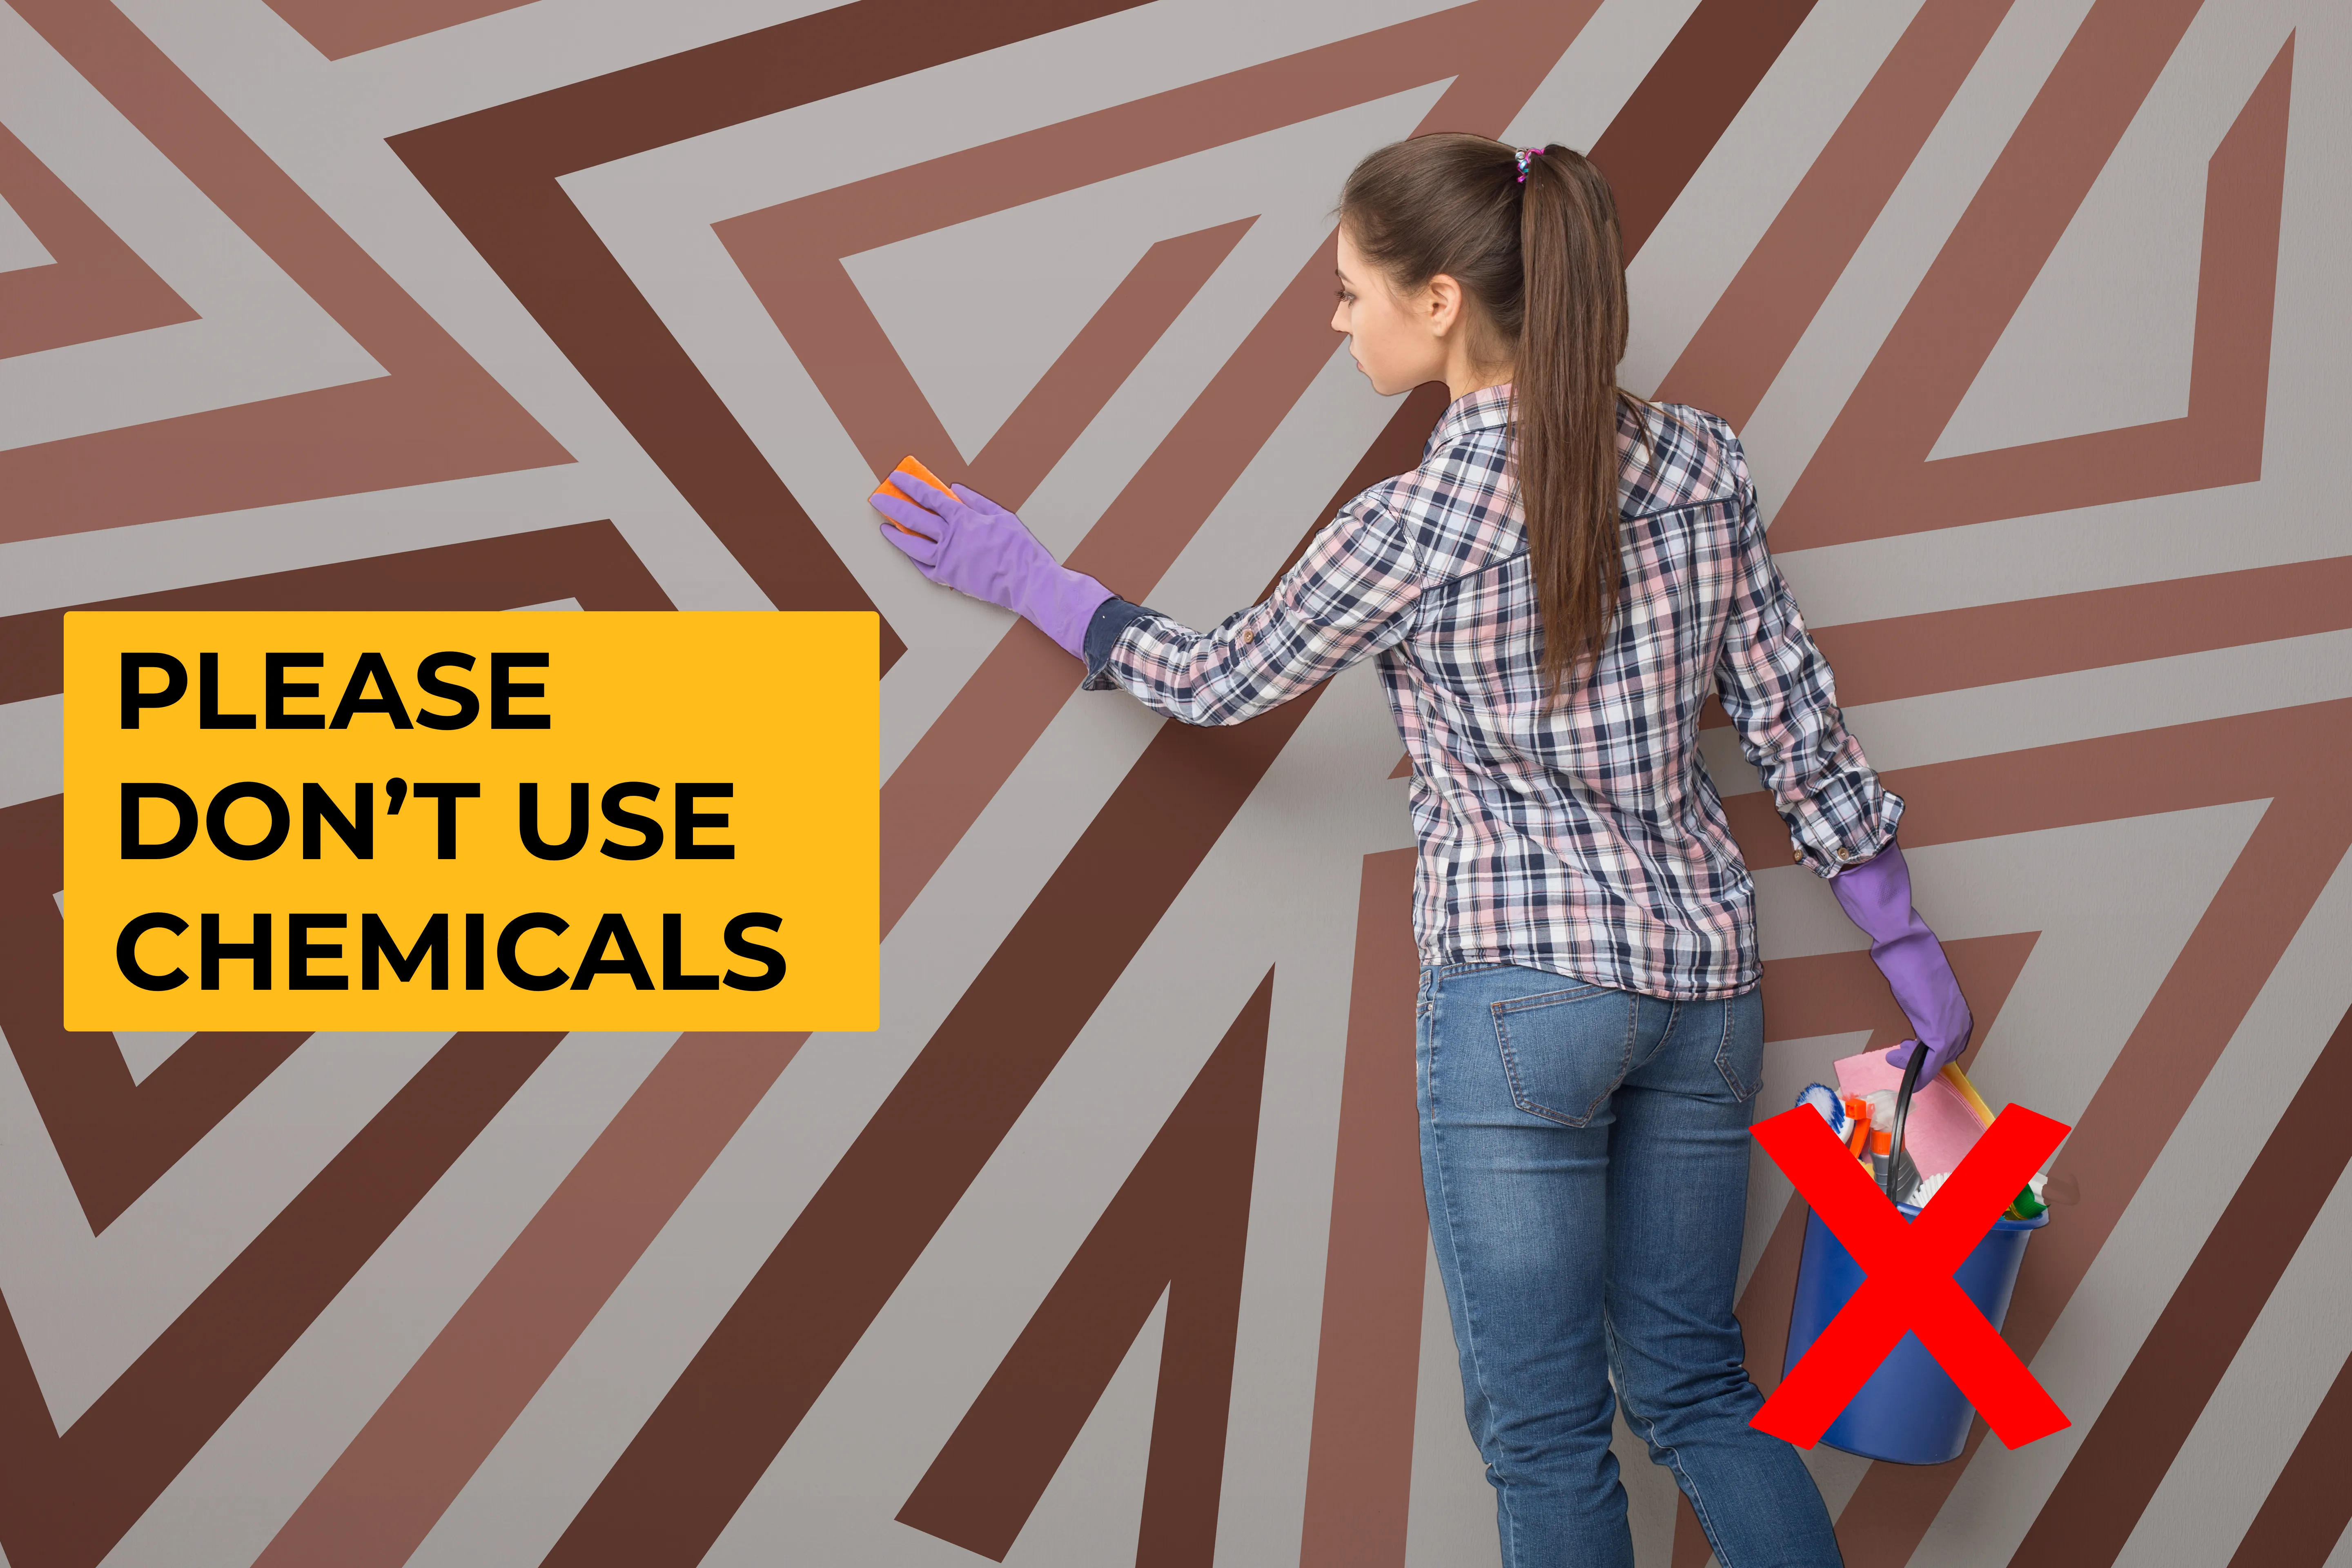
It should be cleaned with a cloth moistened with a warm water of all kinds of dust, grease, etc., everything that might reduce its tackiness. Do not use chemicals or soap. The wall must be completely dry during installation.
If there are power outlets on the wall, cut off the power supply before hanging the wallpaper and unscrew the sockets.

Before you hang your wallpaper
After receiving the parcel with the wallpaper, Check immediately if your order is complete and does not contain any defects such as:
- Mechanical damage.
- Errors in print.
- Incorrect wallpaper size - is it not smaller than ordered (the wallpaper should be slightly larger than the one ordered - security buffer).
- Whether any panel is missing (Each panel sequentially is numbered).
If you notice any defects, do not hang the wallpaper and immediately submit a complaint to customer service. - Before hanging, make sure that the wall is properly prepared.
What You need to hang the wallpaper
- Tape Measure.
- Level (or Plumb Bob) & Pencil.
- Ruler or Straight Edge.
- Utility Knife & Plastic Smoother.
- Step Stool or Step Ladder.
- Someone to help.
Installation - First Strip
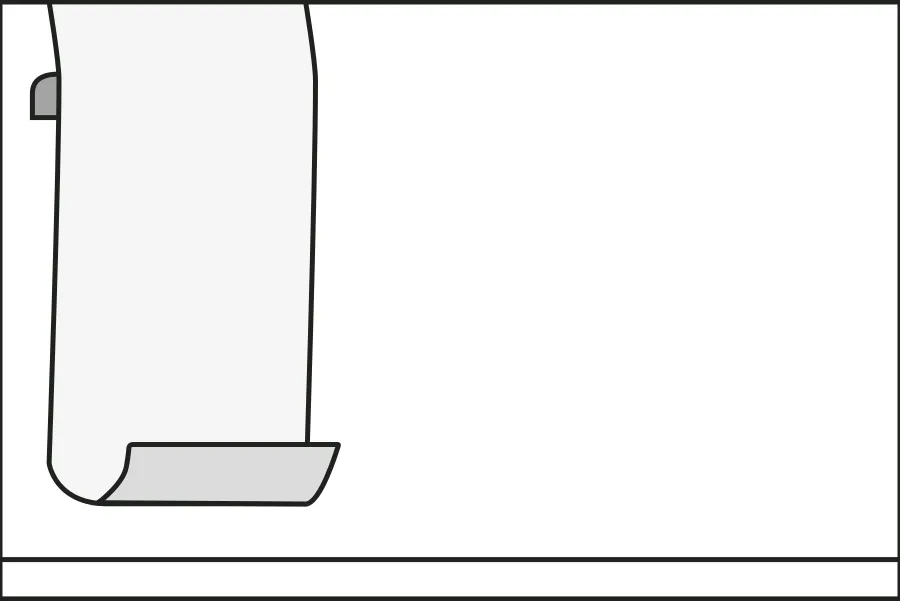
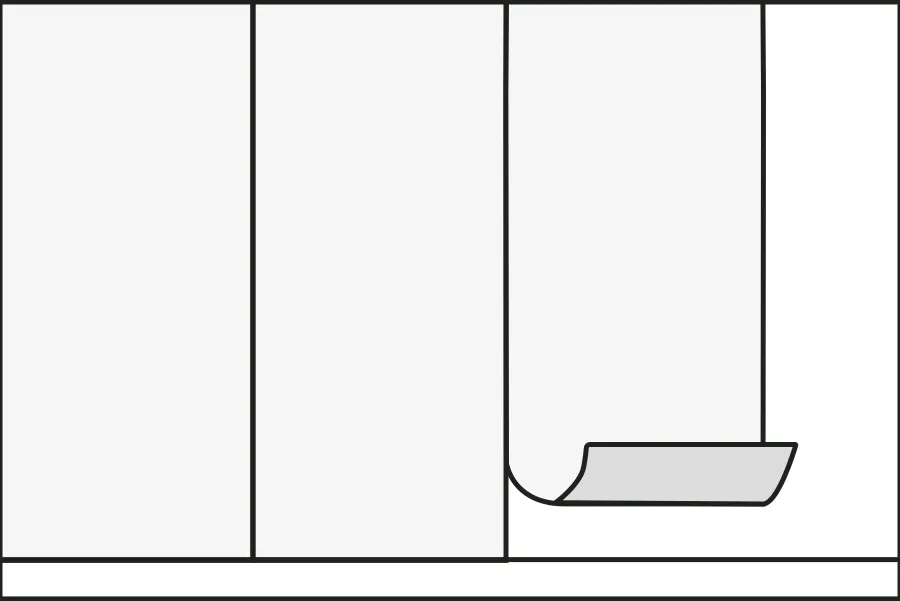
- Measure the width of one panel and then draw a vertical line at this distance counting from the left side of the wall, i.e., the panel width, starting from the left, measure such a distance and draw a vertical line to which the right edge of the first bar will adhere.
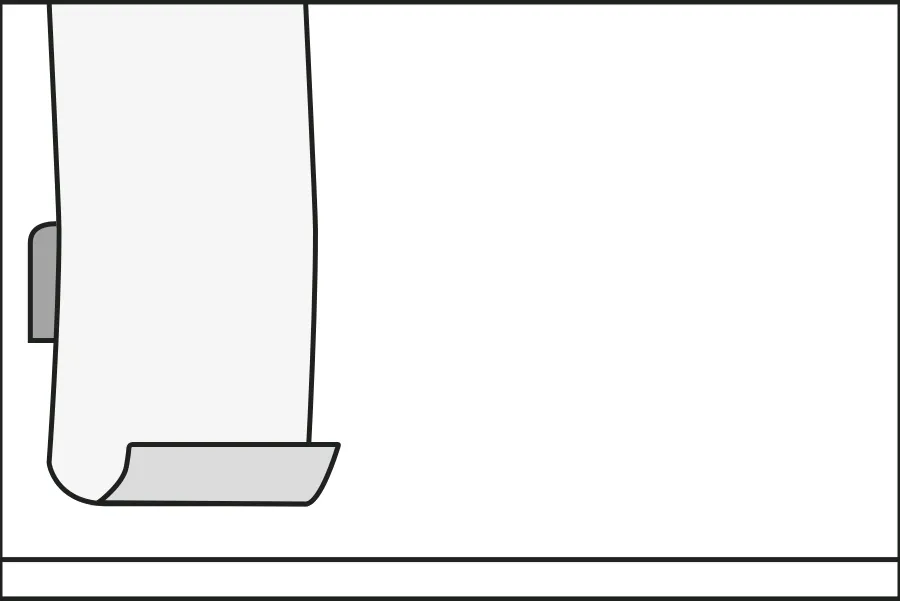
- Hang the wallpaper beginning from the top side. Peel off about 12 in (30 cm) backside of the wallpaper and apply it to previously drawn lines. Glue the strip from the top.
- Gently smooth out the wallpaper Using a plastic smoother to avoid formation of air bubbles. Do not press too hard against the wall. If you need to correct/reposition, gently peel off lifting the panel (CAUTION: do not pull rapidly!). Gently peel off the backside of the wallpaper moving lower and lower, gluing the next section to the wall. CAUTION: The material is flexible, so try not to stretch it, it may cause deformation, gaps etc.
Installation - Next Panels
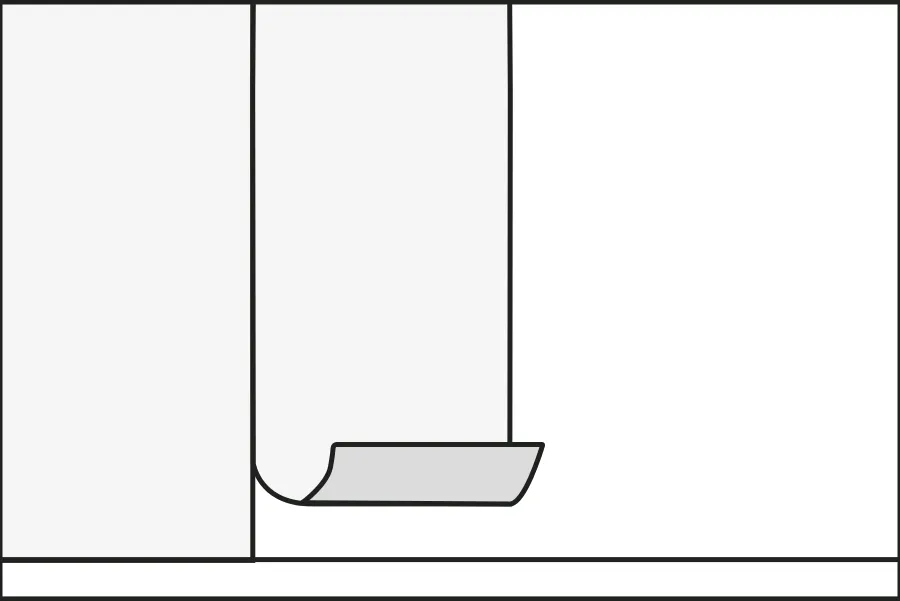
- Similarly, to the first strip, peel off approximately 12 in (30cm) the backside of the wallpaper and start gluing by holding the vertical panel edge on the left. Make sure you are not losing the vertical and vertical direction with the level.
- Follow the instructions above, repeating steps 2-4.
- When you glue all the panels, you can press them smoothly with a clean, dry cloth.
- If you have excess material at the corners and ceiling, use a wallpaper knife to cut it off.
Cleaning the wallpaper
Clean your wallpaper with a damp cloth immediately after soiling. The use of chemicals may damage the print.
Contact
©2022 WPPDECOR LLC. 16192 Coastal Highway Lewes,
DE, USA, Post Code: 19958
Registered in US Flag Icon USA Company EIN 86-1626874