Measuring & Installing
Textile Vinyl Paper
Before applying the products to the wall, please make sure you understand the information in our installation guide. We are happy to help you if there is something you do not understand, please contact us!
General Preparation
Remove any old backing paper from wall surface. Ensure hanging surface is smooth, clean, dry in depth. Surface should be free from contaminants such as dirt, dust, grease, mildew, ink stains; any of these can prevent adhesion taking place. Although it is not necessary, YOU may wish to use lining paper underneath your mural.
Emulsion paint: No further preparation needed.
Porous surface (plaster, cement render): Ensure old plaster is stable and free of mold.
Ensure new plaster is dry in depth. Prime surface with a PVA based primer or emulsion paint and allow to dry before hanging. Non-porous surface (glass, gloss paint): No further preparation needed.
Layout your mural
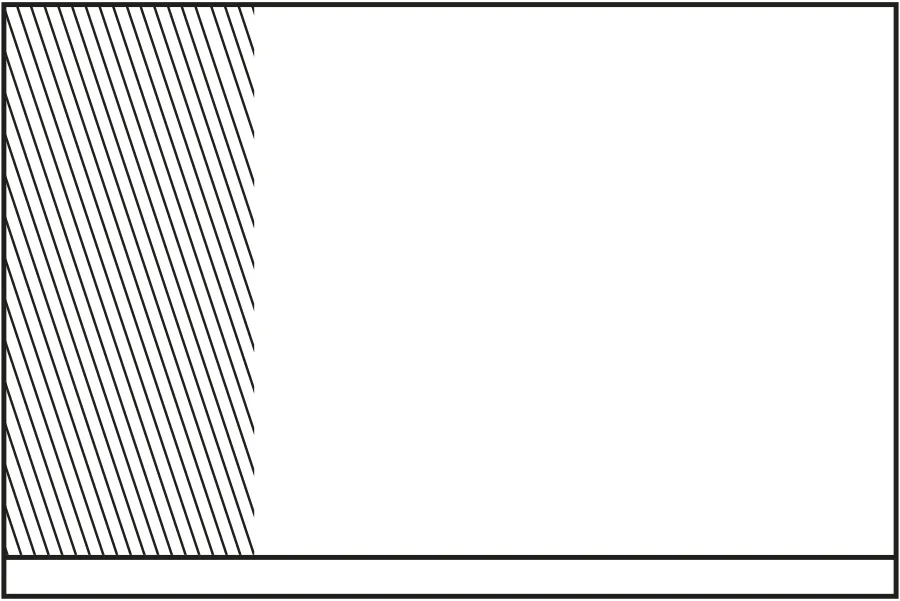
1. Unroll the wallpaper and separate the drops. Every other drop on the roll will be upside down. Identify each panel and arrange them in hanging order on the floor by aligning the panel numbers to the top left corner of each drop. Each drop is numbered in hanging order from left to right.
Please note: If YOU have ordered multiple murals, they may be rolled together.
2. Lay out panels to check image match before installation. If YOU notice any inconsistencies within the print, please do not install. Our customer service team can assist YOU with any problems.

Paste the wall
Using a brush or roller, evenly apply a thin layer of wallpaper paste directly to the wallpaper back surface.
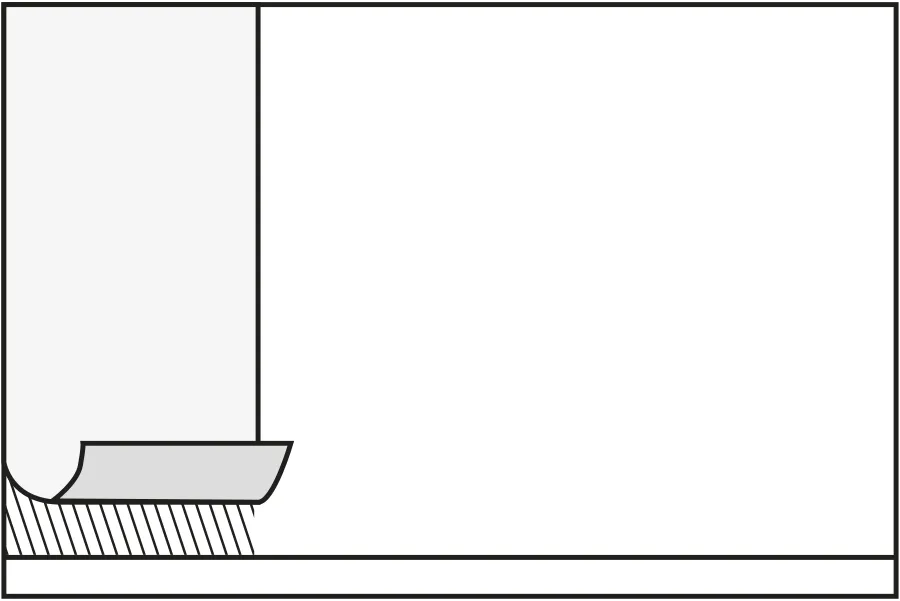
Hang the first panel
Hang the first drop starting from the top and working downwards. Carefully smooth away any bubbles or ripples using a soft brush or micro-fiber cloth.
IMPORTANT: Do not pull or stretch the material during installation. Work from the top and allow the wallpaper to fall naturally, taking particular care to avoid scuffing or scratching the printed surface.
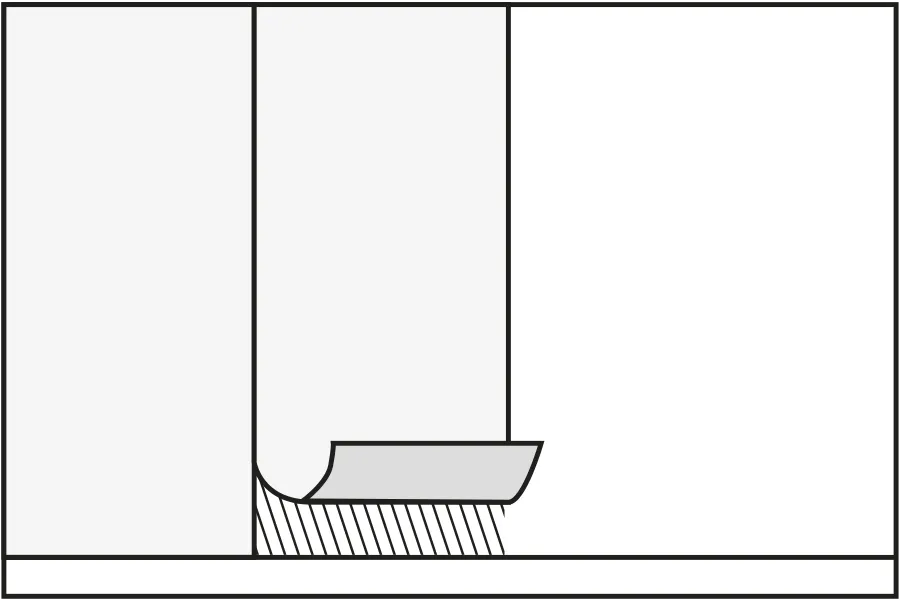
Butt UP the panels
When hanging multiple drops: hang the panels edge to edge (there is no overlap), in a butt join. Visually match the image at the join and adjust the position Until the design completely matches. Firmly butt the panels, then smooth out with a soft brush. Use a seam roller to ensure the product is well bonded at the joins and gently wipe away any excess paste. Trim away any excess paper at the top and bottom of each drop using a knife and a straight edge.
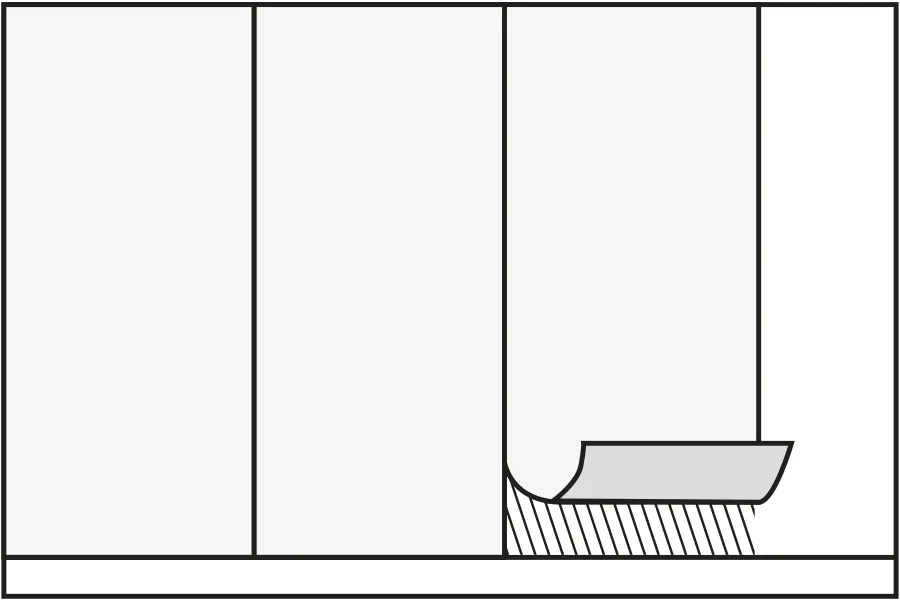
Repeat Until finished
Continue the previous stages for each drop Until all panels are installed. Trim away any excess wallpaper Using a straightedge and sharp blade. Allow for drying at room temperature, ensuring there is some ventilation. Sit back and enjoy your handiwork!
Contact
©2022 WPPDECOR LLC. 16192 Coastal Highway Lewes,
DE, USA, Post Code: 19958
Registered in US Flag Icon USA Company EIN 86-1626874