Traditional Adhesive Wallpaper
Installation Guide
For unpasted, paste-required wallpaper murals delivered as numbered panels. This is a two-person job for anything wider than one panel.
You can DIY this — but we recommend hiring a professional installer for the best results.
Before You Begin
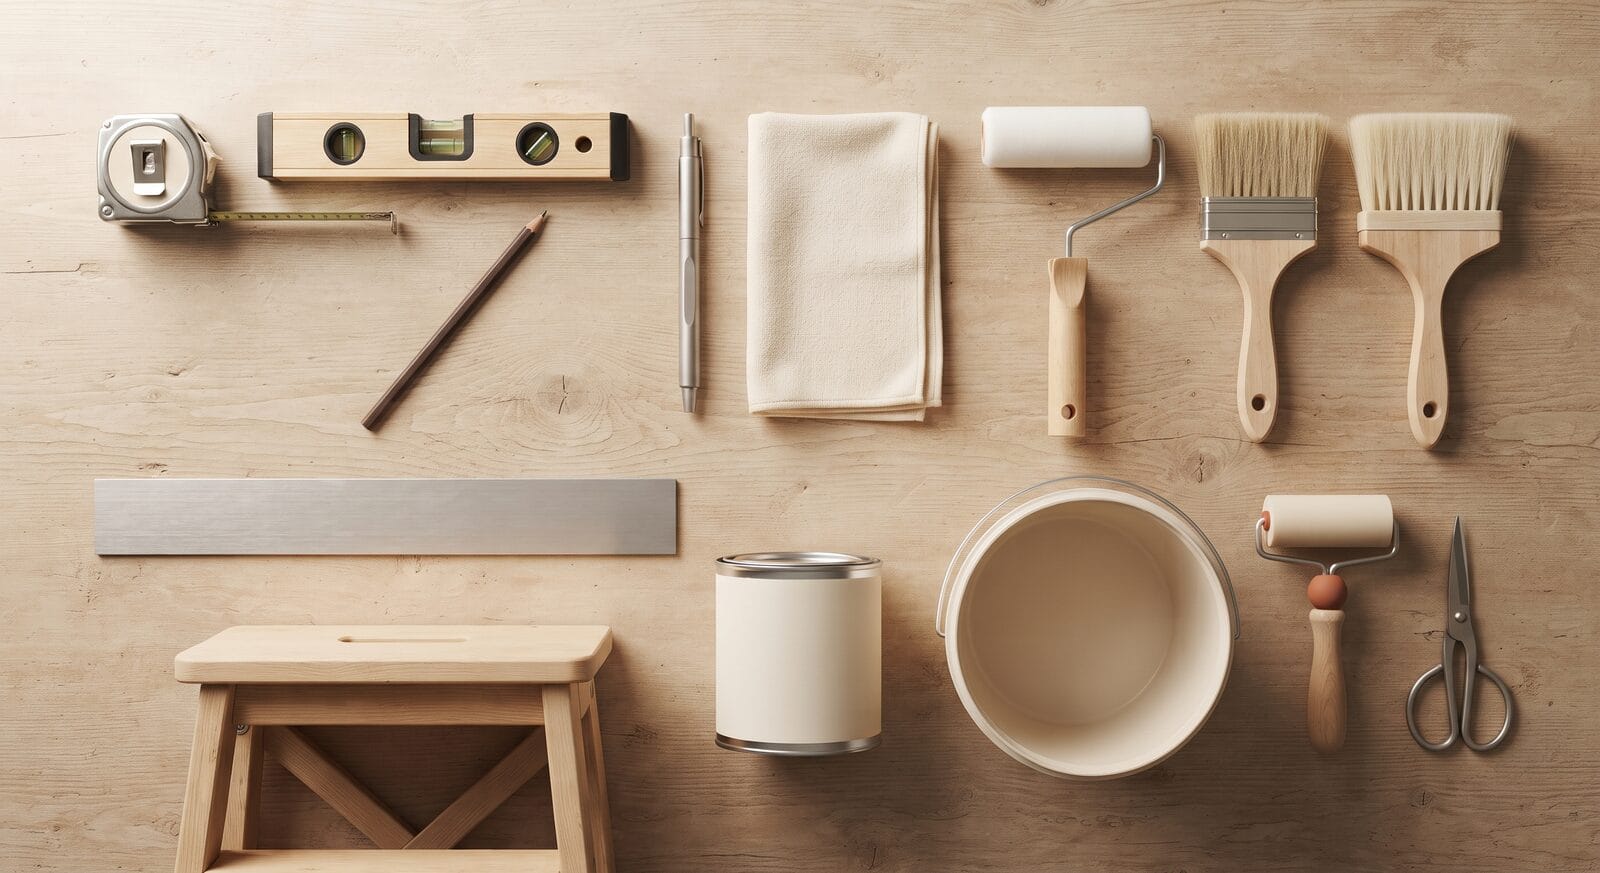
Before installation, we recommend letting the wallpaper acclimate to your room's temperature to prevent shrinkage.
The following tools are recommended for wallpaper installation:
- Ready-mixed heavy-duty wallpaper adhesive
- A bucket
- A roller and a brush for precise application
- A sharp knife
- A straight edge
- A clean microfiber cloth
- A spirit level
- A wallpaper spatula for smoothing
Non-Recommended Surfaces
Wallpaper works best on smooth, flat surfaces. Avoid applying it to the following surfaces, as it may not stick properly or could cause damage when removed:
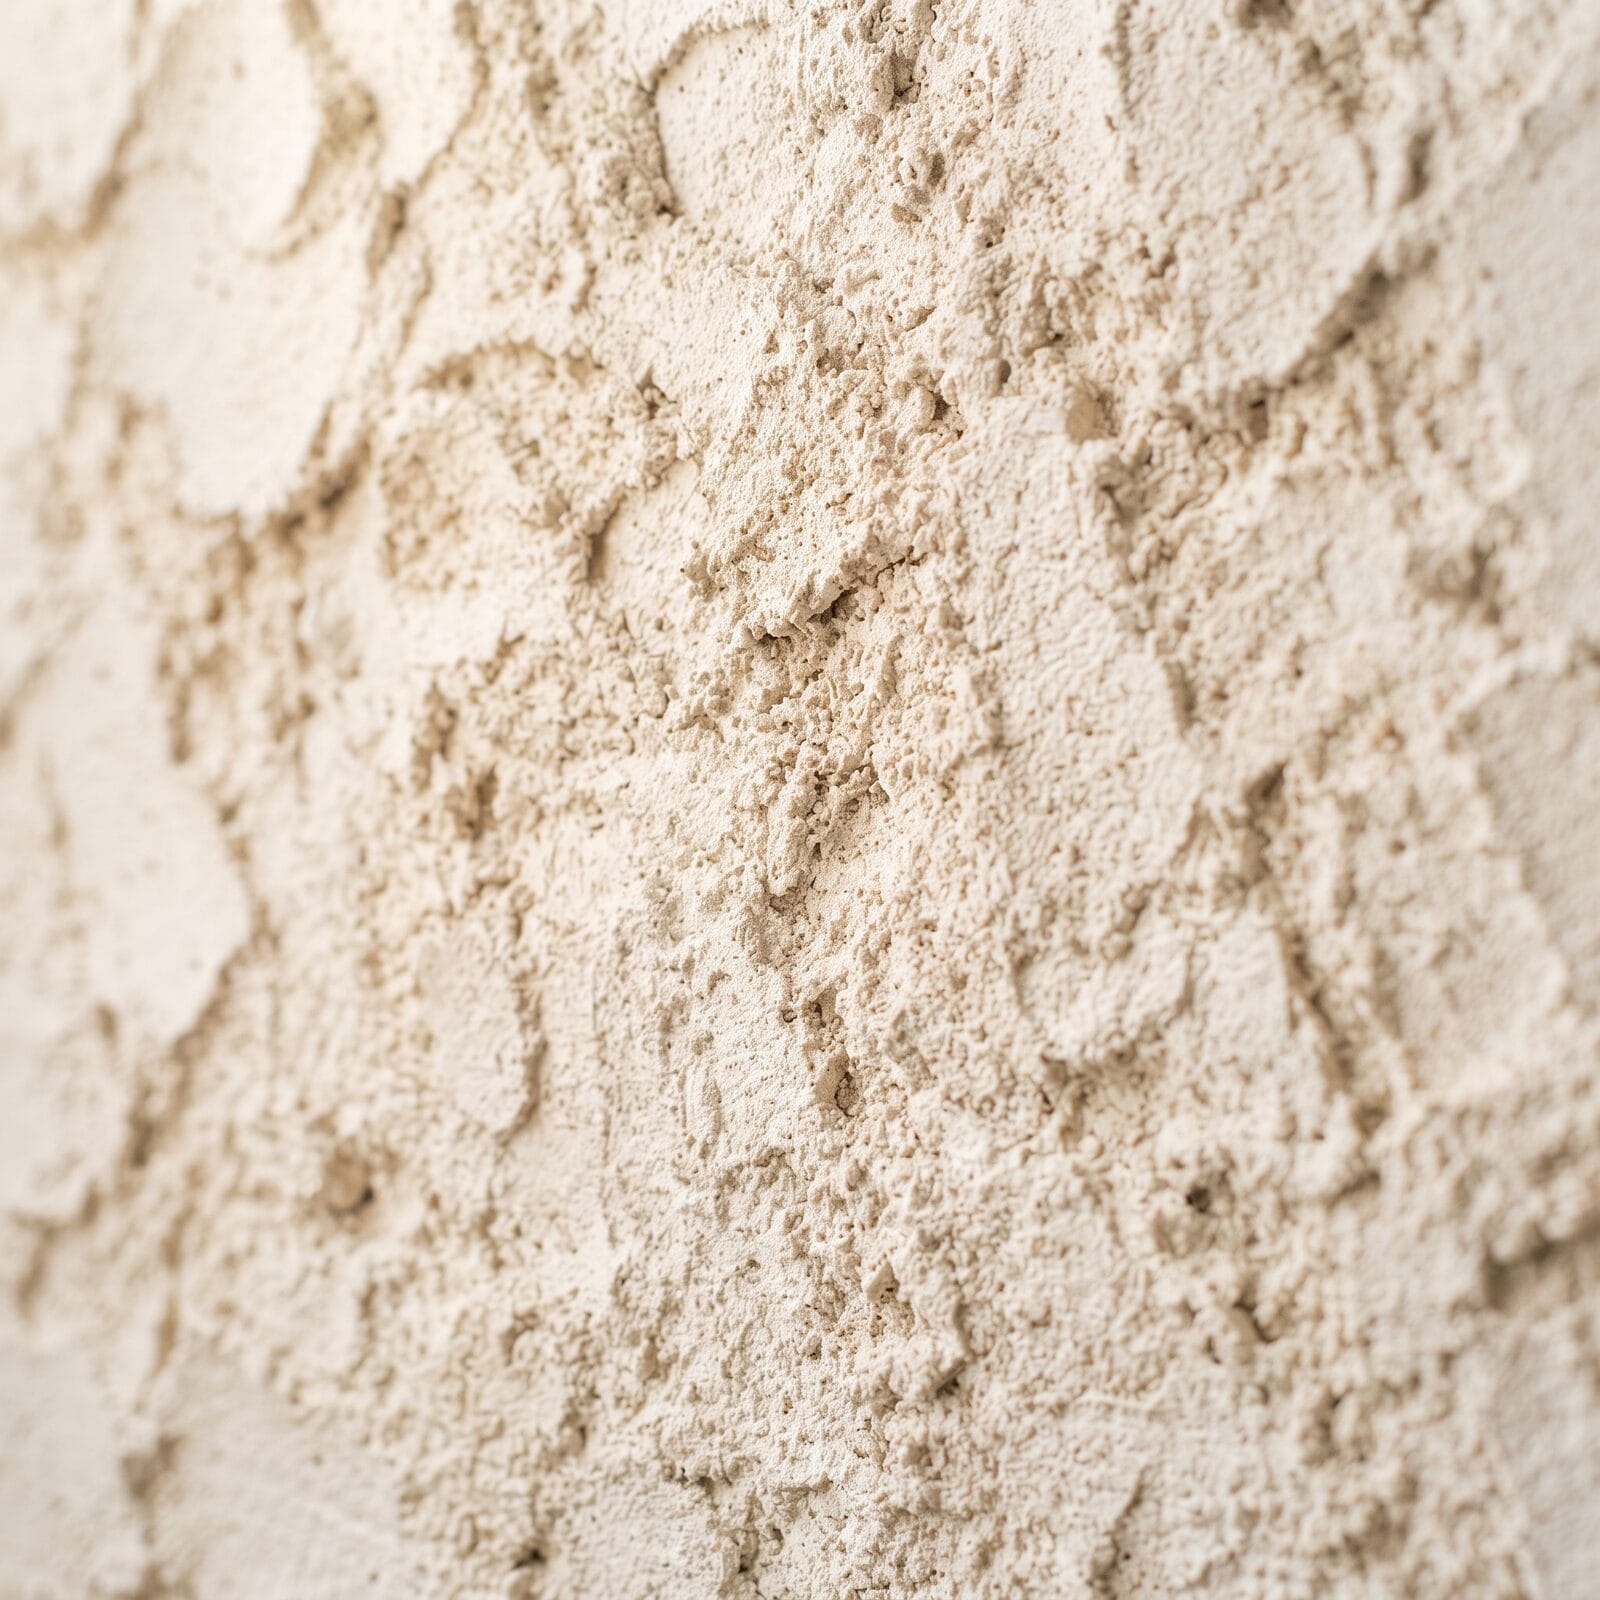
Textured Walls — Uneven surfaces may trap air bubbles, preventing proper adhesion.
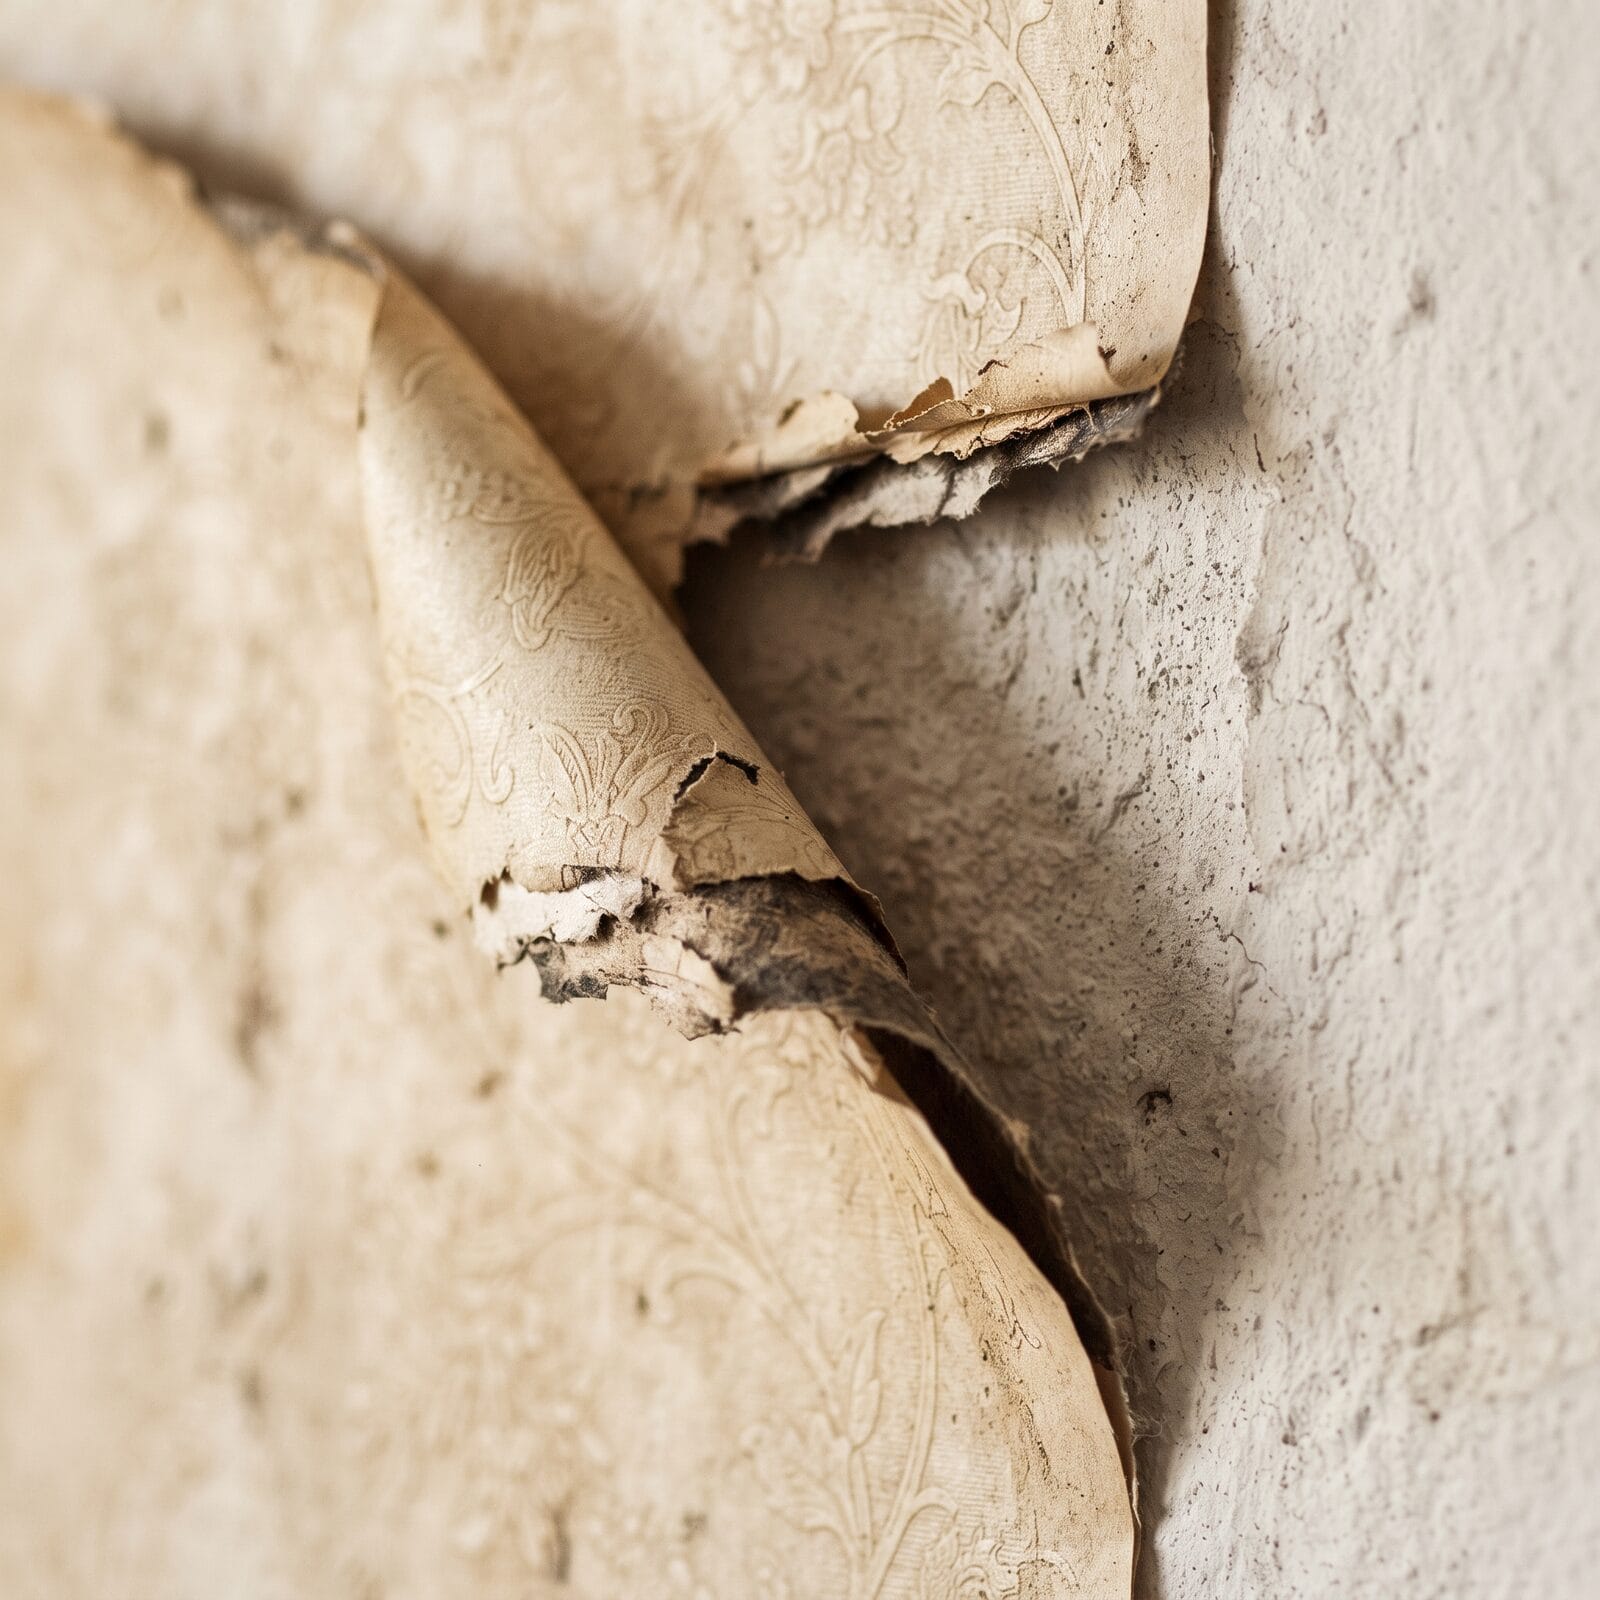
Existing Wallpaper — Applying over old wallpaper is not recommended, as peeling off may damage the underlying layer.
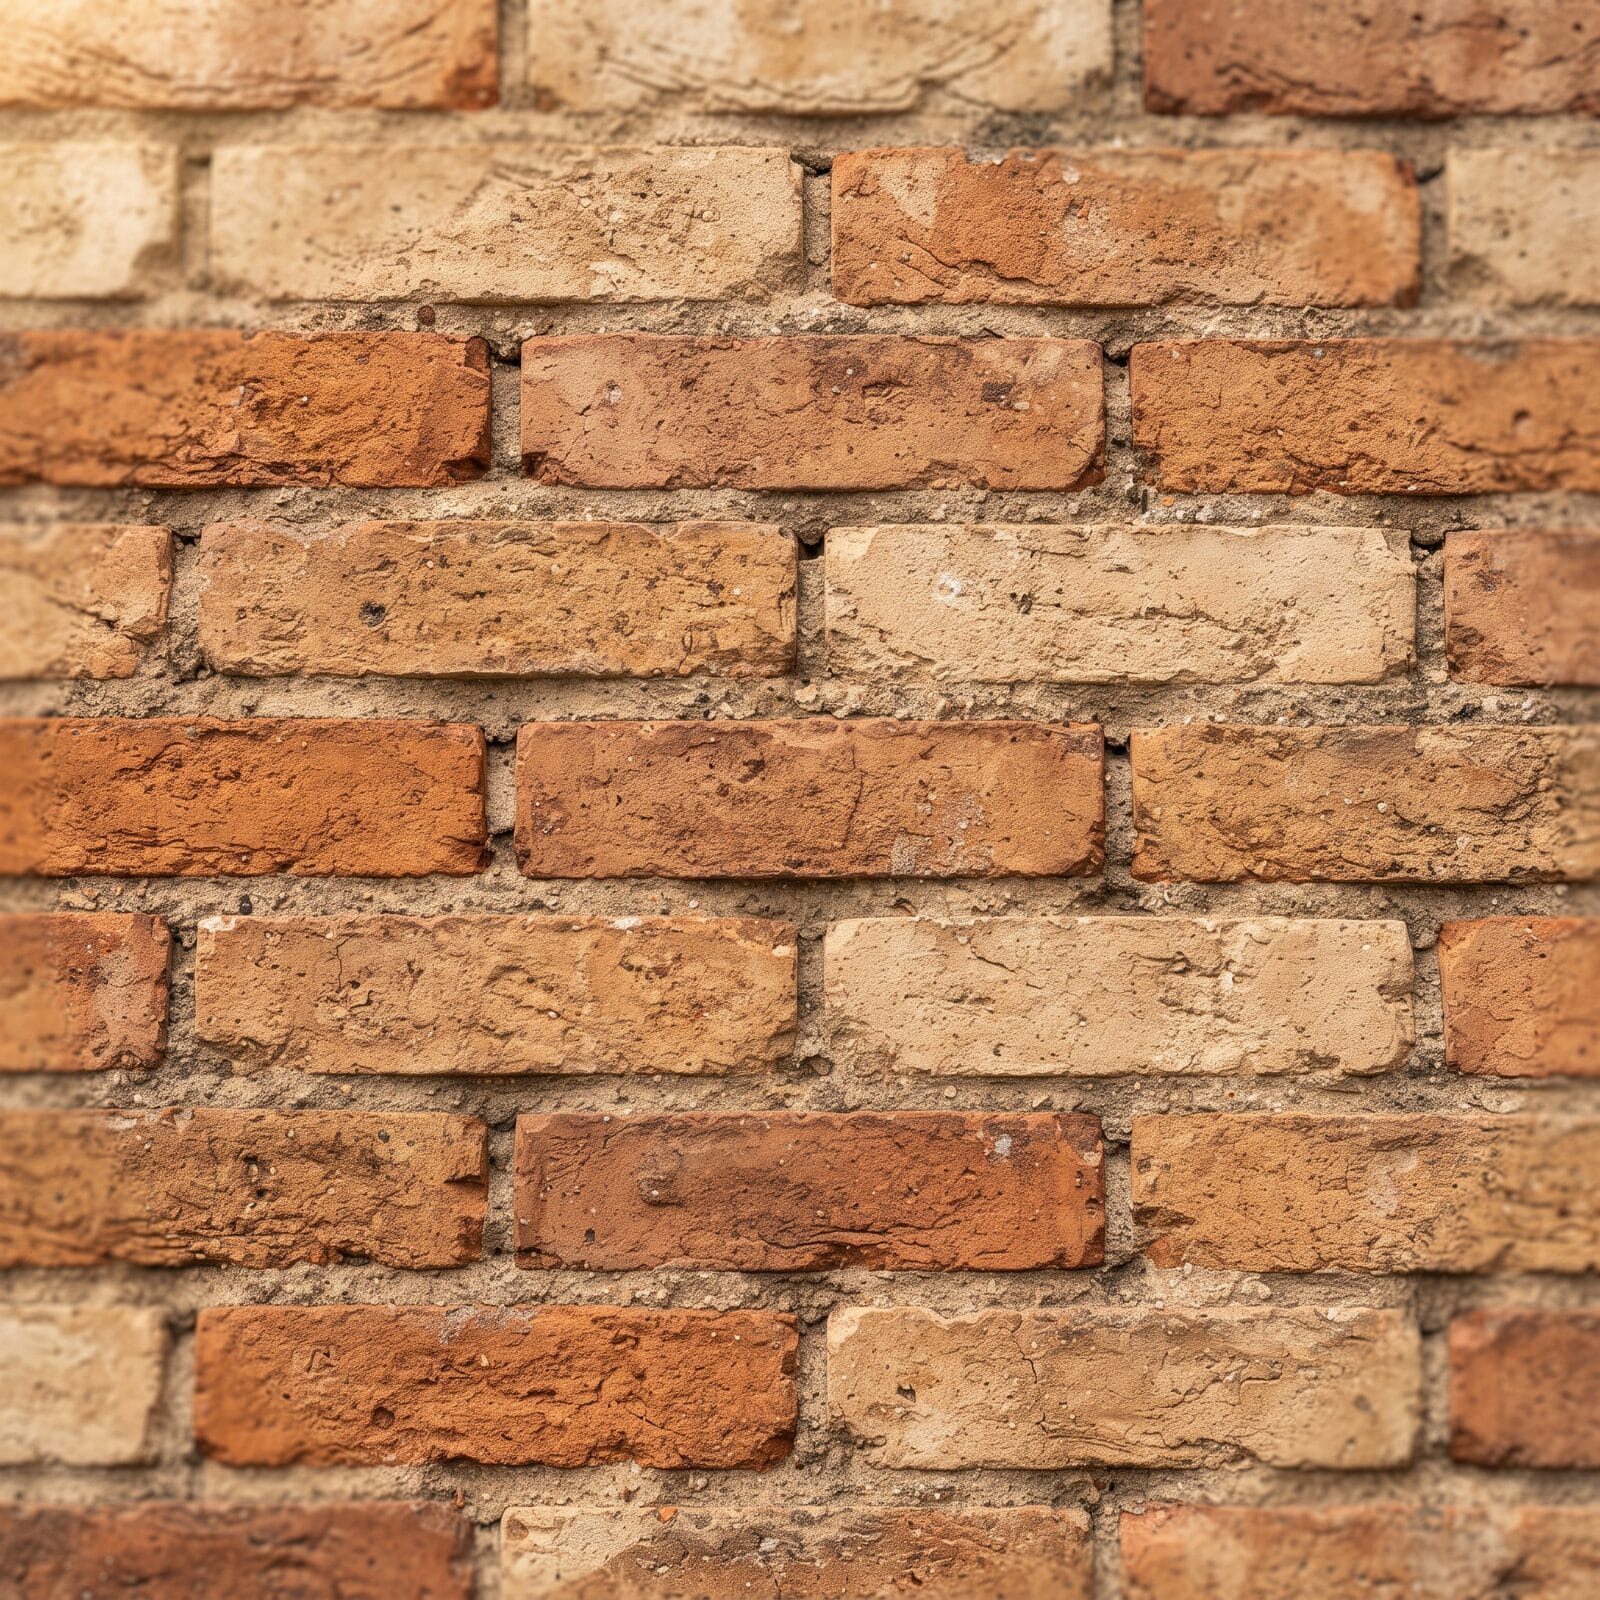
Brick / Cinderblock — Rough surfaces prevent adhesion.
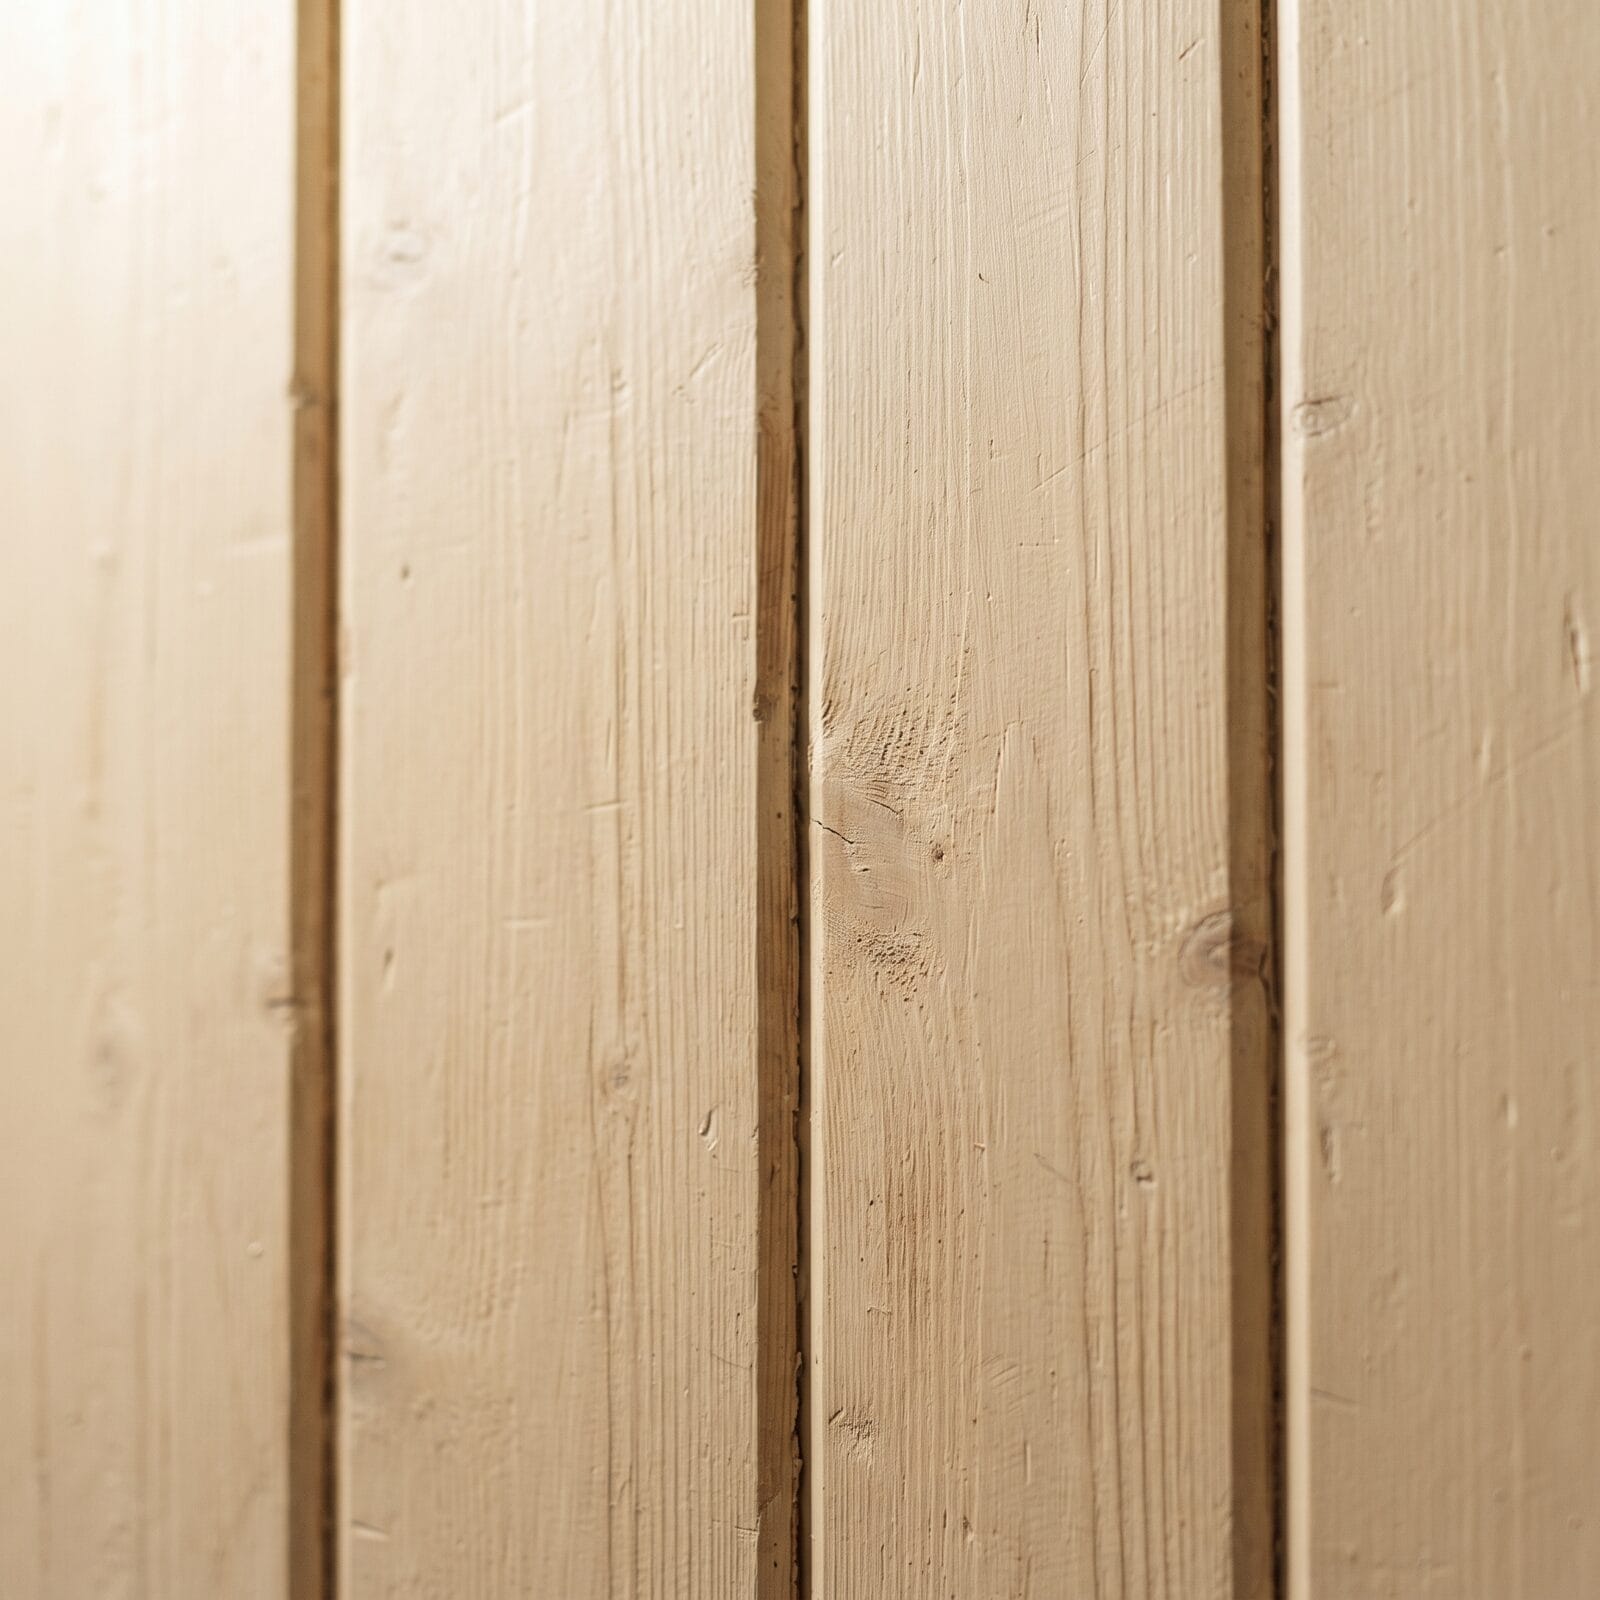
Wooden Walls — Similar to brick, wallpaper may peel off over time.
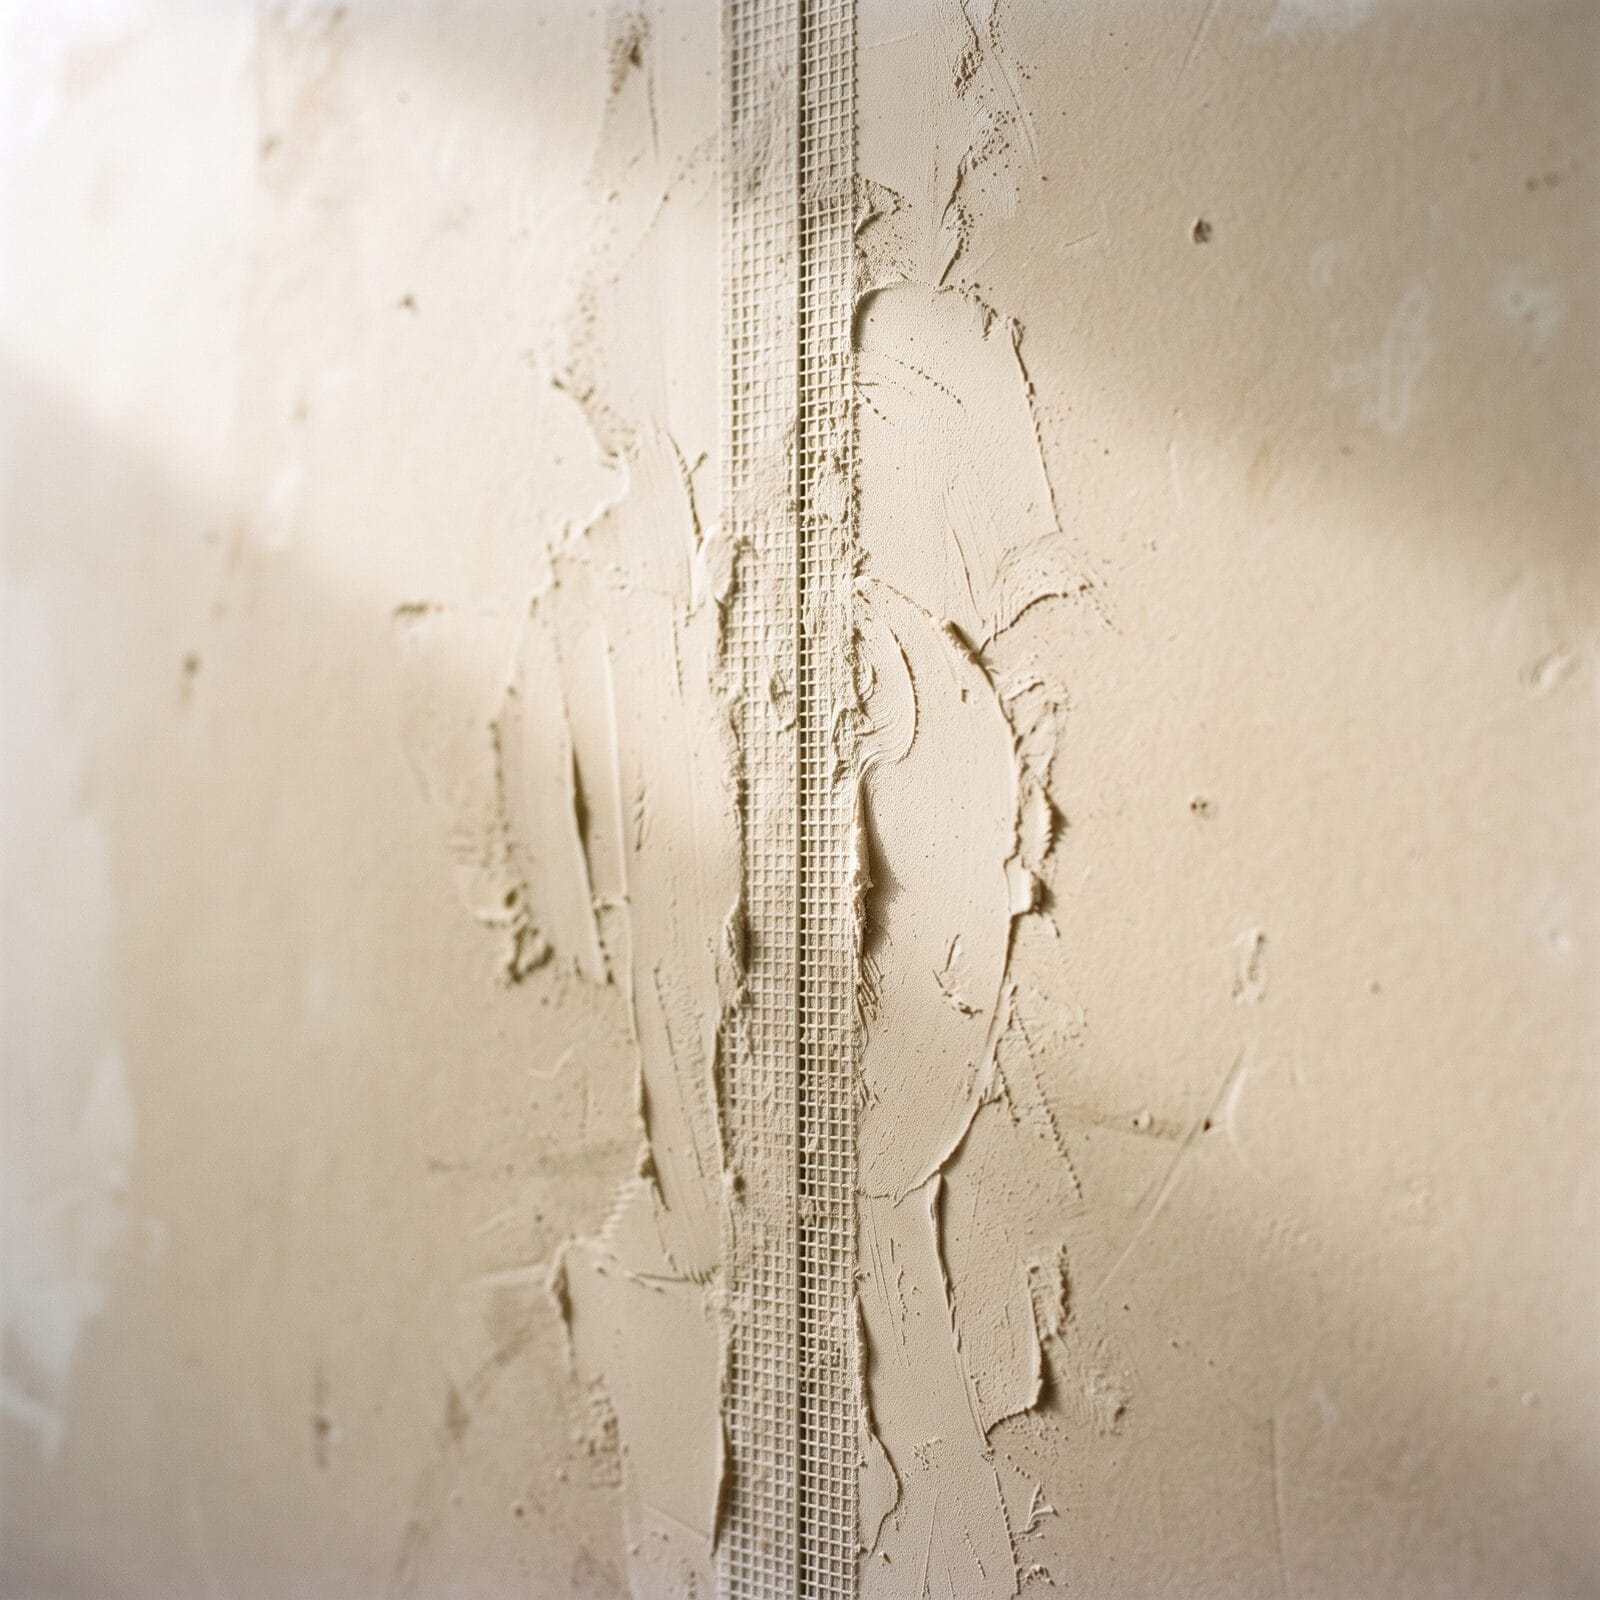
Unpainted Drywall / Plaster — The paper surface may tear when removing the wallpaper.
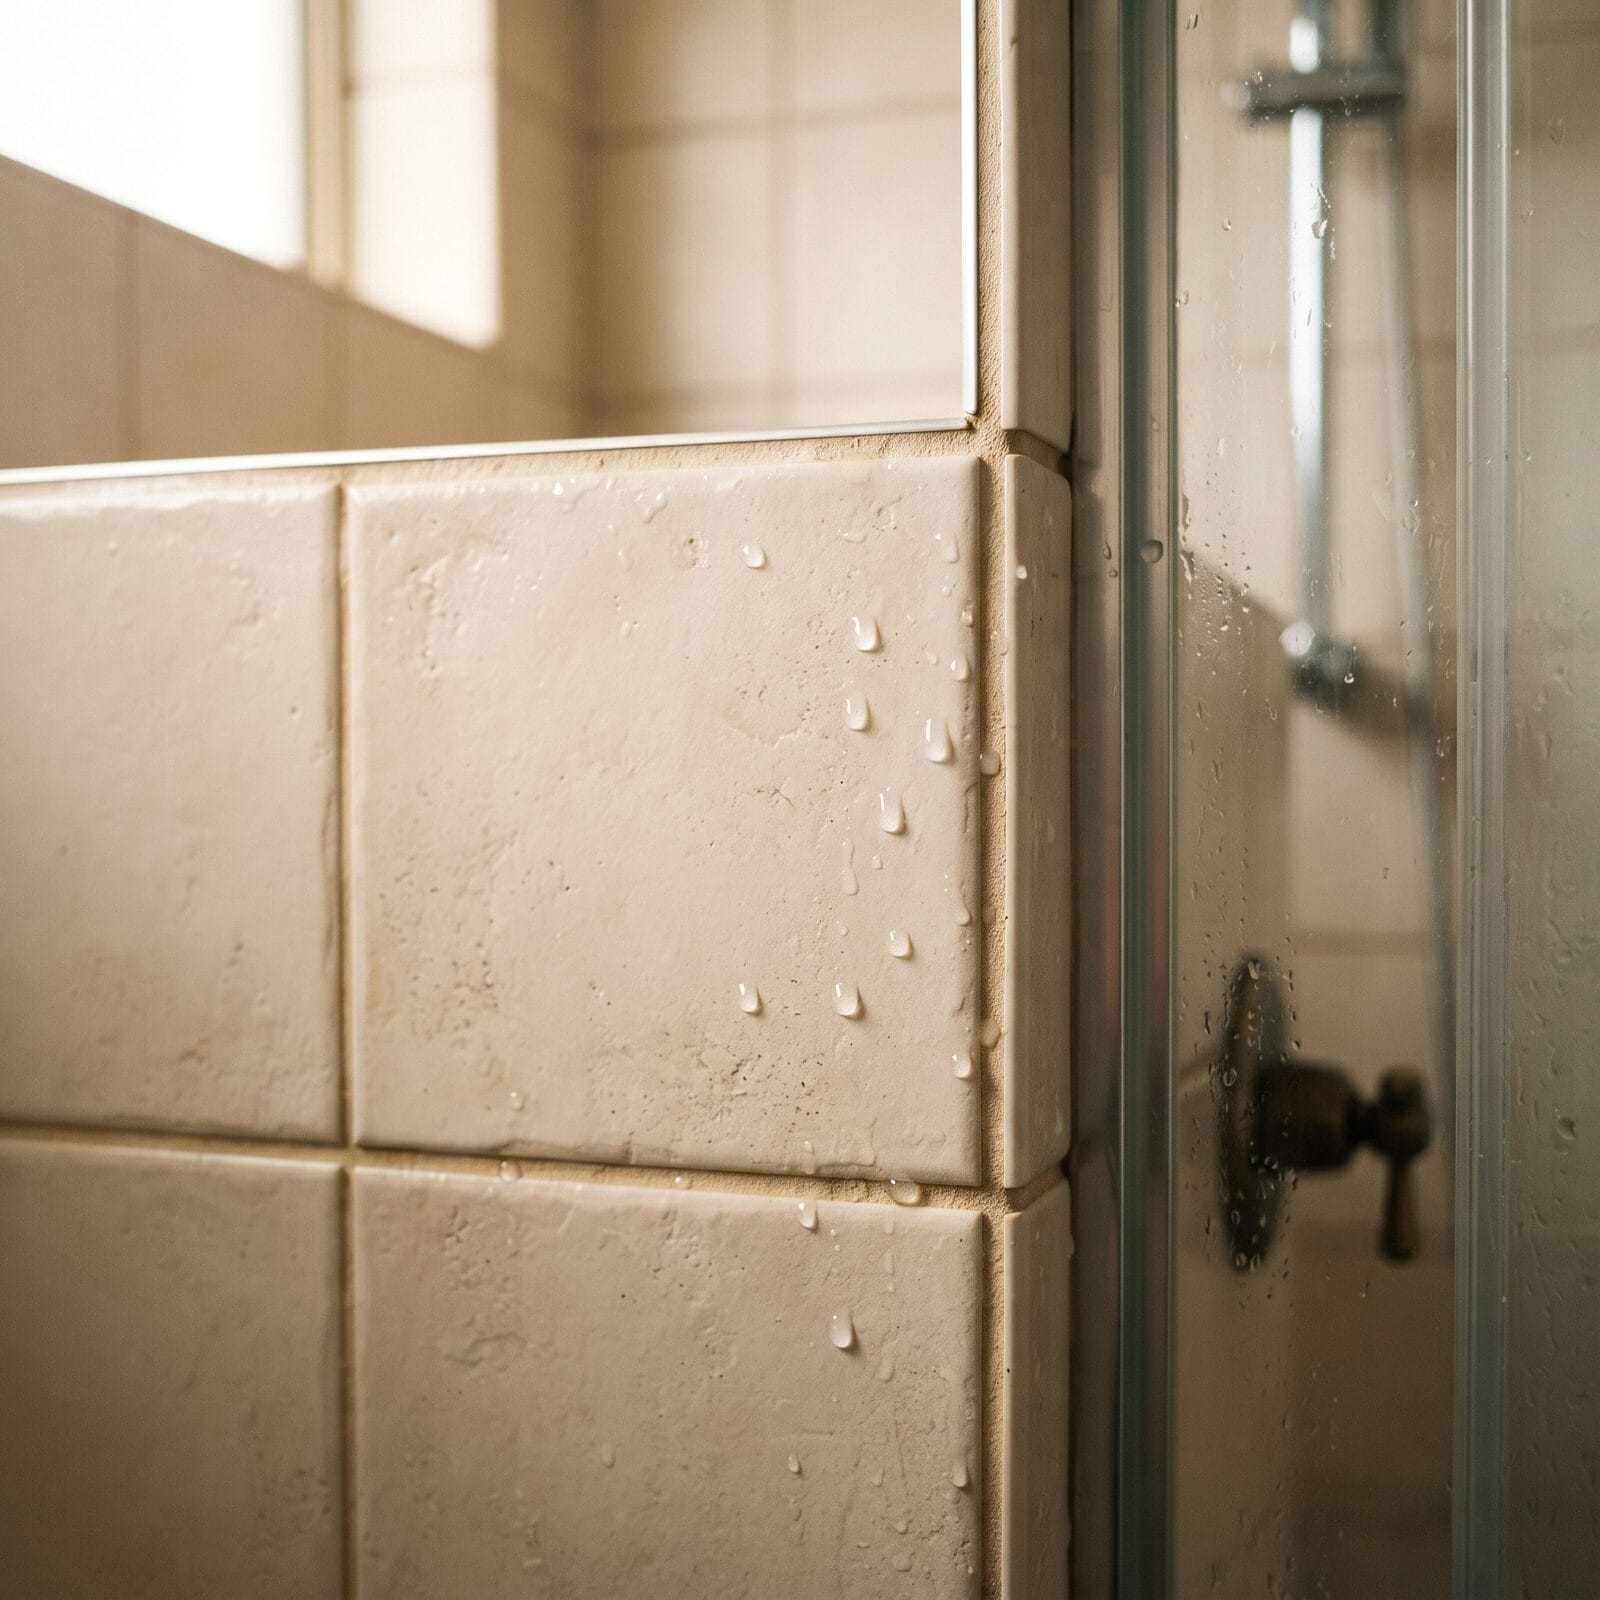
Bathrooms — Not recommended for areas with high humidity. If you wish to install it in a bathroom, test with a sample for 7–14 days before full application.
Latex Paint — Some latex paints may not allow the wallpaper to stick. Test with a sample before applying.
Old Plaster or Paint — Removing the wallpaper may cause the paint or plaster to peel off.
Moldy Walls — Adhesive cannot bond properly to moist surfaces.
Kitchens — Be cautious when applying near sinks or high-humidity areas.
Preparing Your Wall
Before installing your wallpaper, ensure that the wall is smooth and clean. Remove any loose wallpaper, peeling or cracked paint, as well as nails and screws. Sand the surface thoroughly and fill in any holes or cracks. For absorbent surfaces, apply a suitable wallpaper primer to prepare the wall properly.
Getting Your Panels Ready
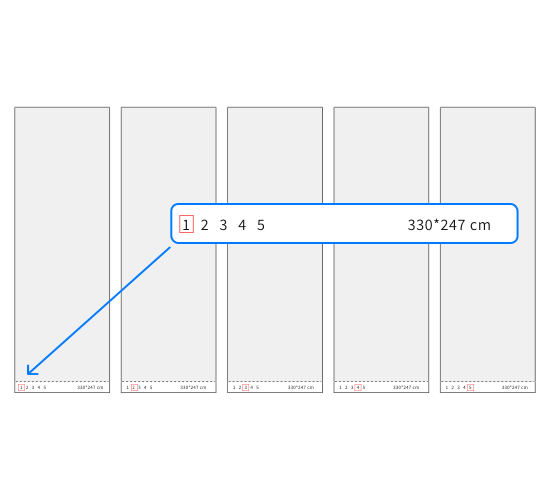
Each panel will be delivered labeled and numbered. Before starting the installation, unroll all panels and inspect them carefully. Lay them out in sequential order to ensure they are installed correctly. Also, check that the dimensions match your order before beginning the application.
Apply Adhesive & Start Hanging
Use a roller to spread the adhesive onto the wall and a brush to cut in around edges and fixtures. Once the wall is coated, begin hanging your wallpaper from the top down. When wiping away excess paste, take care not to rub off the ink from the paper. Avoid getting adhesive on the front surface of the wallpaper.
Wall Junctions & Excess
Wall junctions may not always be perfectly vertical. Before applying the wallpaper, check the starting points of the wall, and if there is any misalignment, position the wallpaper accordingly before installation.

Your mural is printed slightly larger than your specified dimensions to allow for excess. When installing the first panel, be sure to use the vertical excess (typically 50mm / 2 inches) to accommodate any uneven walls. A spirit level can be useful to ensure the panel is hung as straight as possible.
Continue Installing
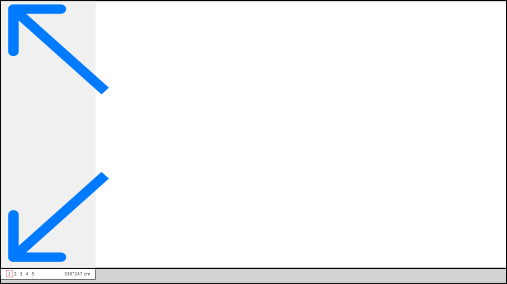
As you apply the wallpaper, use a soft, dry cloth or a smoothing tool to eliminate any ripples or bubbles. When hanging additional strips, ensure they do not overlap. Align the images or patterns precisely and place the edges flush against each other. Pressing the strips firmly will help make the seams less visible. Be mindful of the adhesive during installation — if any gets on the wallpaper's surface, gently dab it off with a clean cloth.
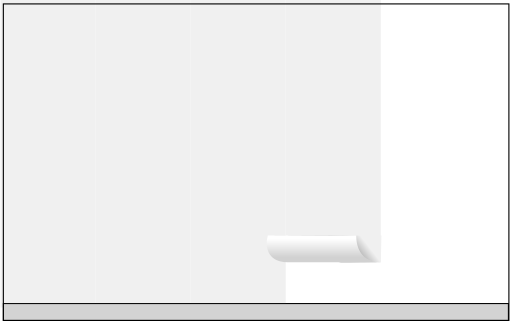
After installation, allow the wallpaper to dry at room temperature for at least 24 hours, ensuring it is not exposed to significant fluctuations in temperature or humidity.
Still Have Questions?
Do I paste the wallpaper or the wall?
Paste the wall, not the paper — spread the adhesive directly onto the wall surface, then hang the dry panel into it.
How long does the adhesive stay workable?
That depends on the adhesive's open (tack) time, printed on the packaging — check it before you start so you know how far ahead you can paste.
Is this a one-person job?
For anything wider than a single panel, plan on two people — one to hold and align, one to smooth.